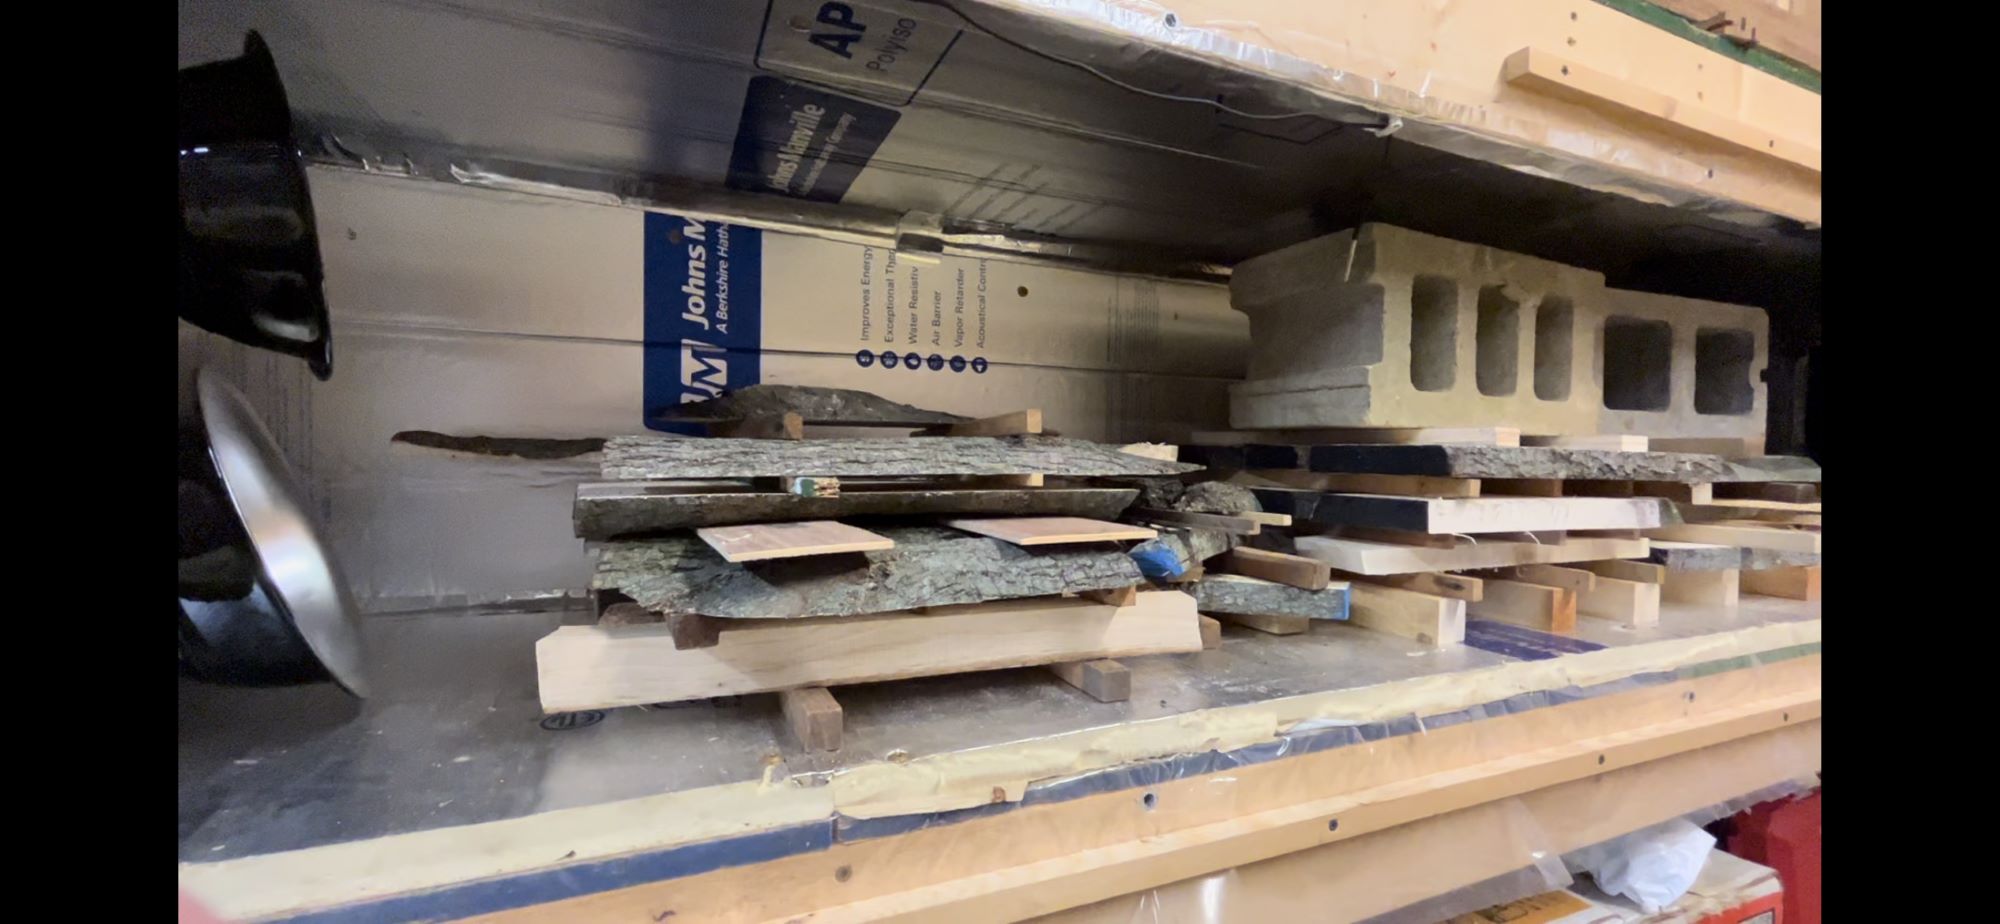
Every wood project needs the right wood – the right color, shape, and from the right tree. Once a tree is cut down it must be sent to a lumber mill to cut the log into useable lumber. From there the wood must be dried. There are multiple options for drying wood – air dry, solar kiln, dehumidification kiln, vacuum kiln, updraft kiln, and many other types of kilns.
Wood Schuck brought home wood cut down, cut into lumber, and air dried by his dad. Air drying takes about one year for every one inch thickness of a board. This wood needed to be heated in a kiln to kill any bugs or powder beetles. So the challenge began.
After watching plenty of YouTube videos and reading various articles about wood kilns, Wood Schuck set out to build a small kiln for his shop. GUESS WHAT, it worked!! Below you will see videos showing a full run of the kiln – from loading recently cut lumber (small pieces of Maple and Redbud), the temperature/humidity readings during the drying cycle, the amount of water removed, unloading the kiln, and final wood moisture levels.
The kiln is approximately 10’x2’x2′. The heat source comes from two 100W ceramic heat elements (reptile heat lamps), air is circulated by a small fan, a small dehumidifier, and temperature and humidity controllers. The temperature controller controls turning the ceramic heating elements on and off. The humidity controller turns the dehumidifier off and on.
Videos will be uploaded shortly.
Kiln loading and starup, Day 1
Day 1, hour 8
Day 7
Day 10
Day 13
Day 19
Day 23
Day 24
Day 24, opening Kiln.
Day 24, results. As expected wood from edge of logs curled. Rest of maple, redwood, and a little white oak are straight (some had a slight twist from rough sawing on band saw).
Day 24, moisture readings.
Day 24, moisture meter LED/Moisture Content card. Per the LEDs, effective moisture content is between 6%-6.5%. In the video I said it was around 5% but the first LED, 6, turns on which is the 6-6.5% range.

